Slow work
I work on a couch, in a basement corner, or outside when a piece grows too large for the room. The waiting is part of the thinking.
The tools are simple. The process is not. What follows is what it actually looks like — and the decade of trial and error it took to learn it.
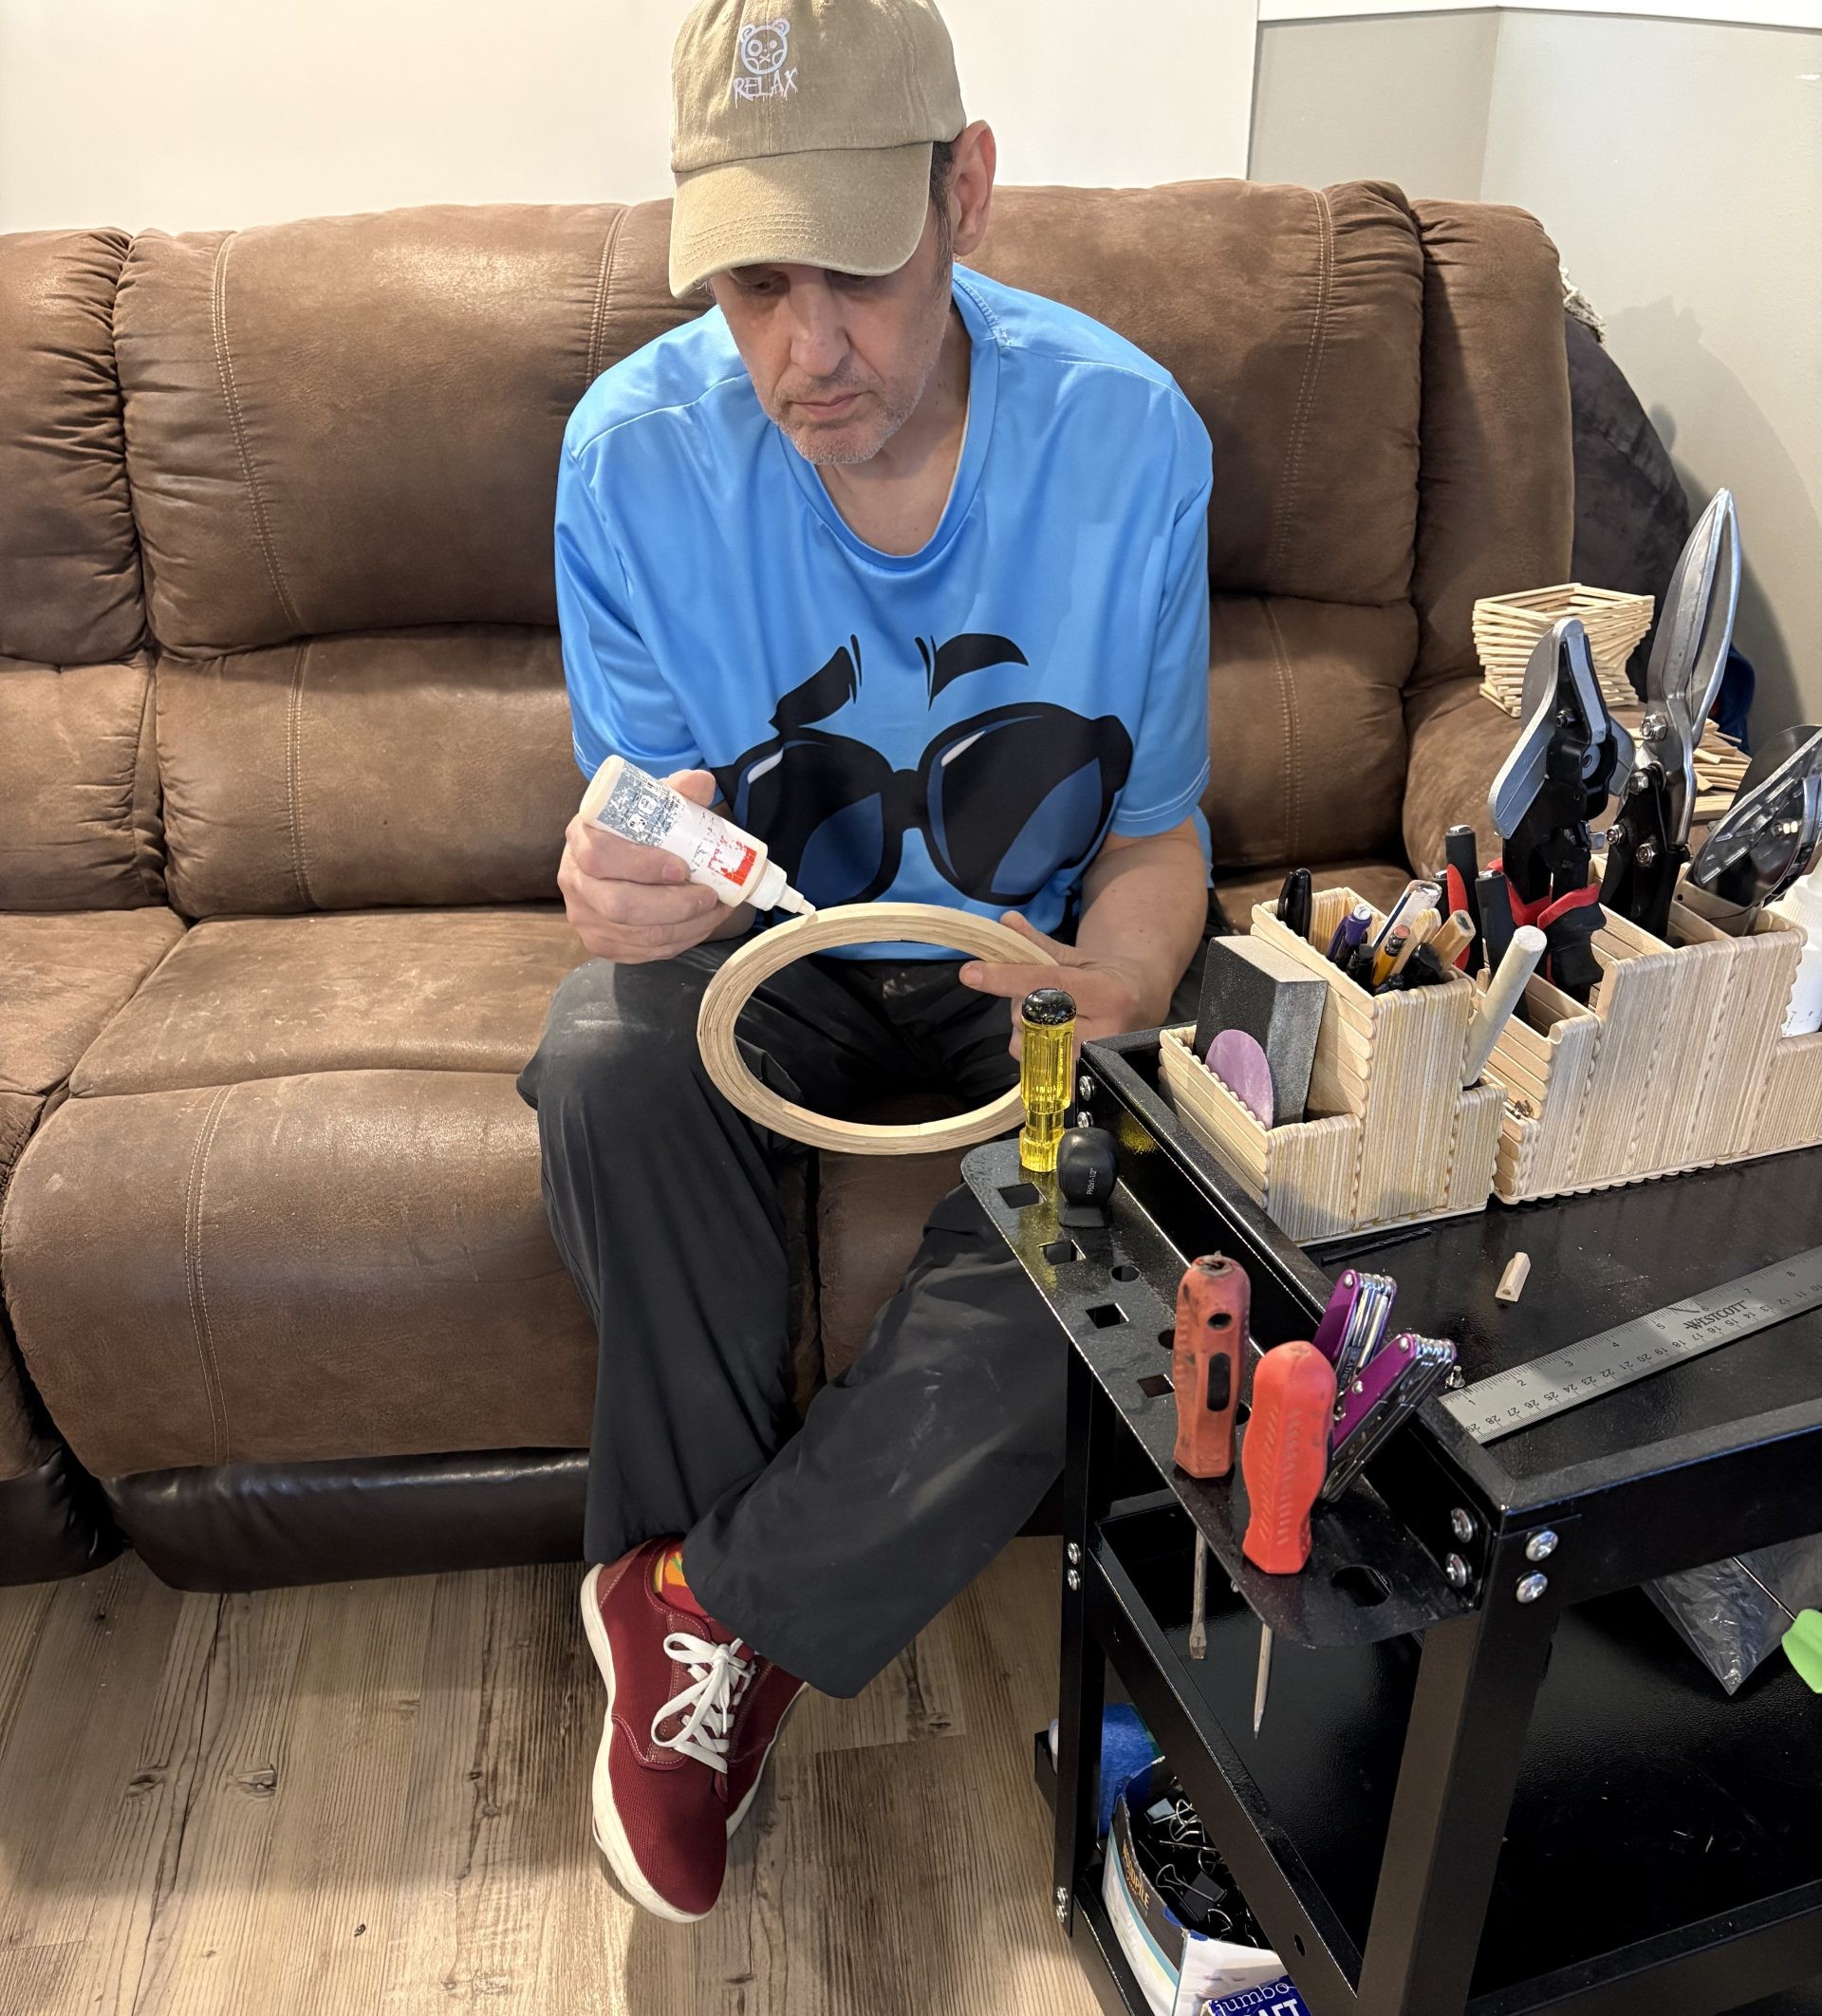
Every stick looks the same. None of them are.
Thickness varies by fractions. Grain changes from stick to stick, and from one end of a single stick to the other. Some bend easily under heat; others fight back. I've worked through enough failures — broken curves, collapsed joints, pieces torn apart and started over — to know which ones to reach for and where.
The imperfections aren't problems to solve. They're the vocabulary I work in.
Boil
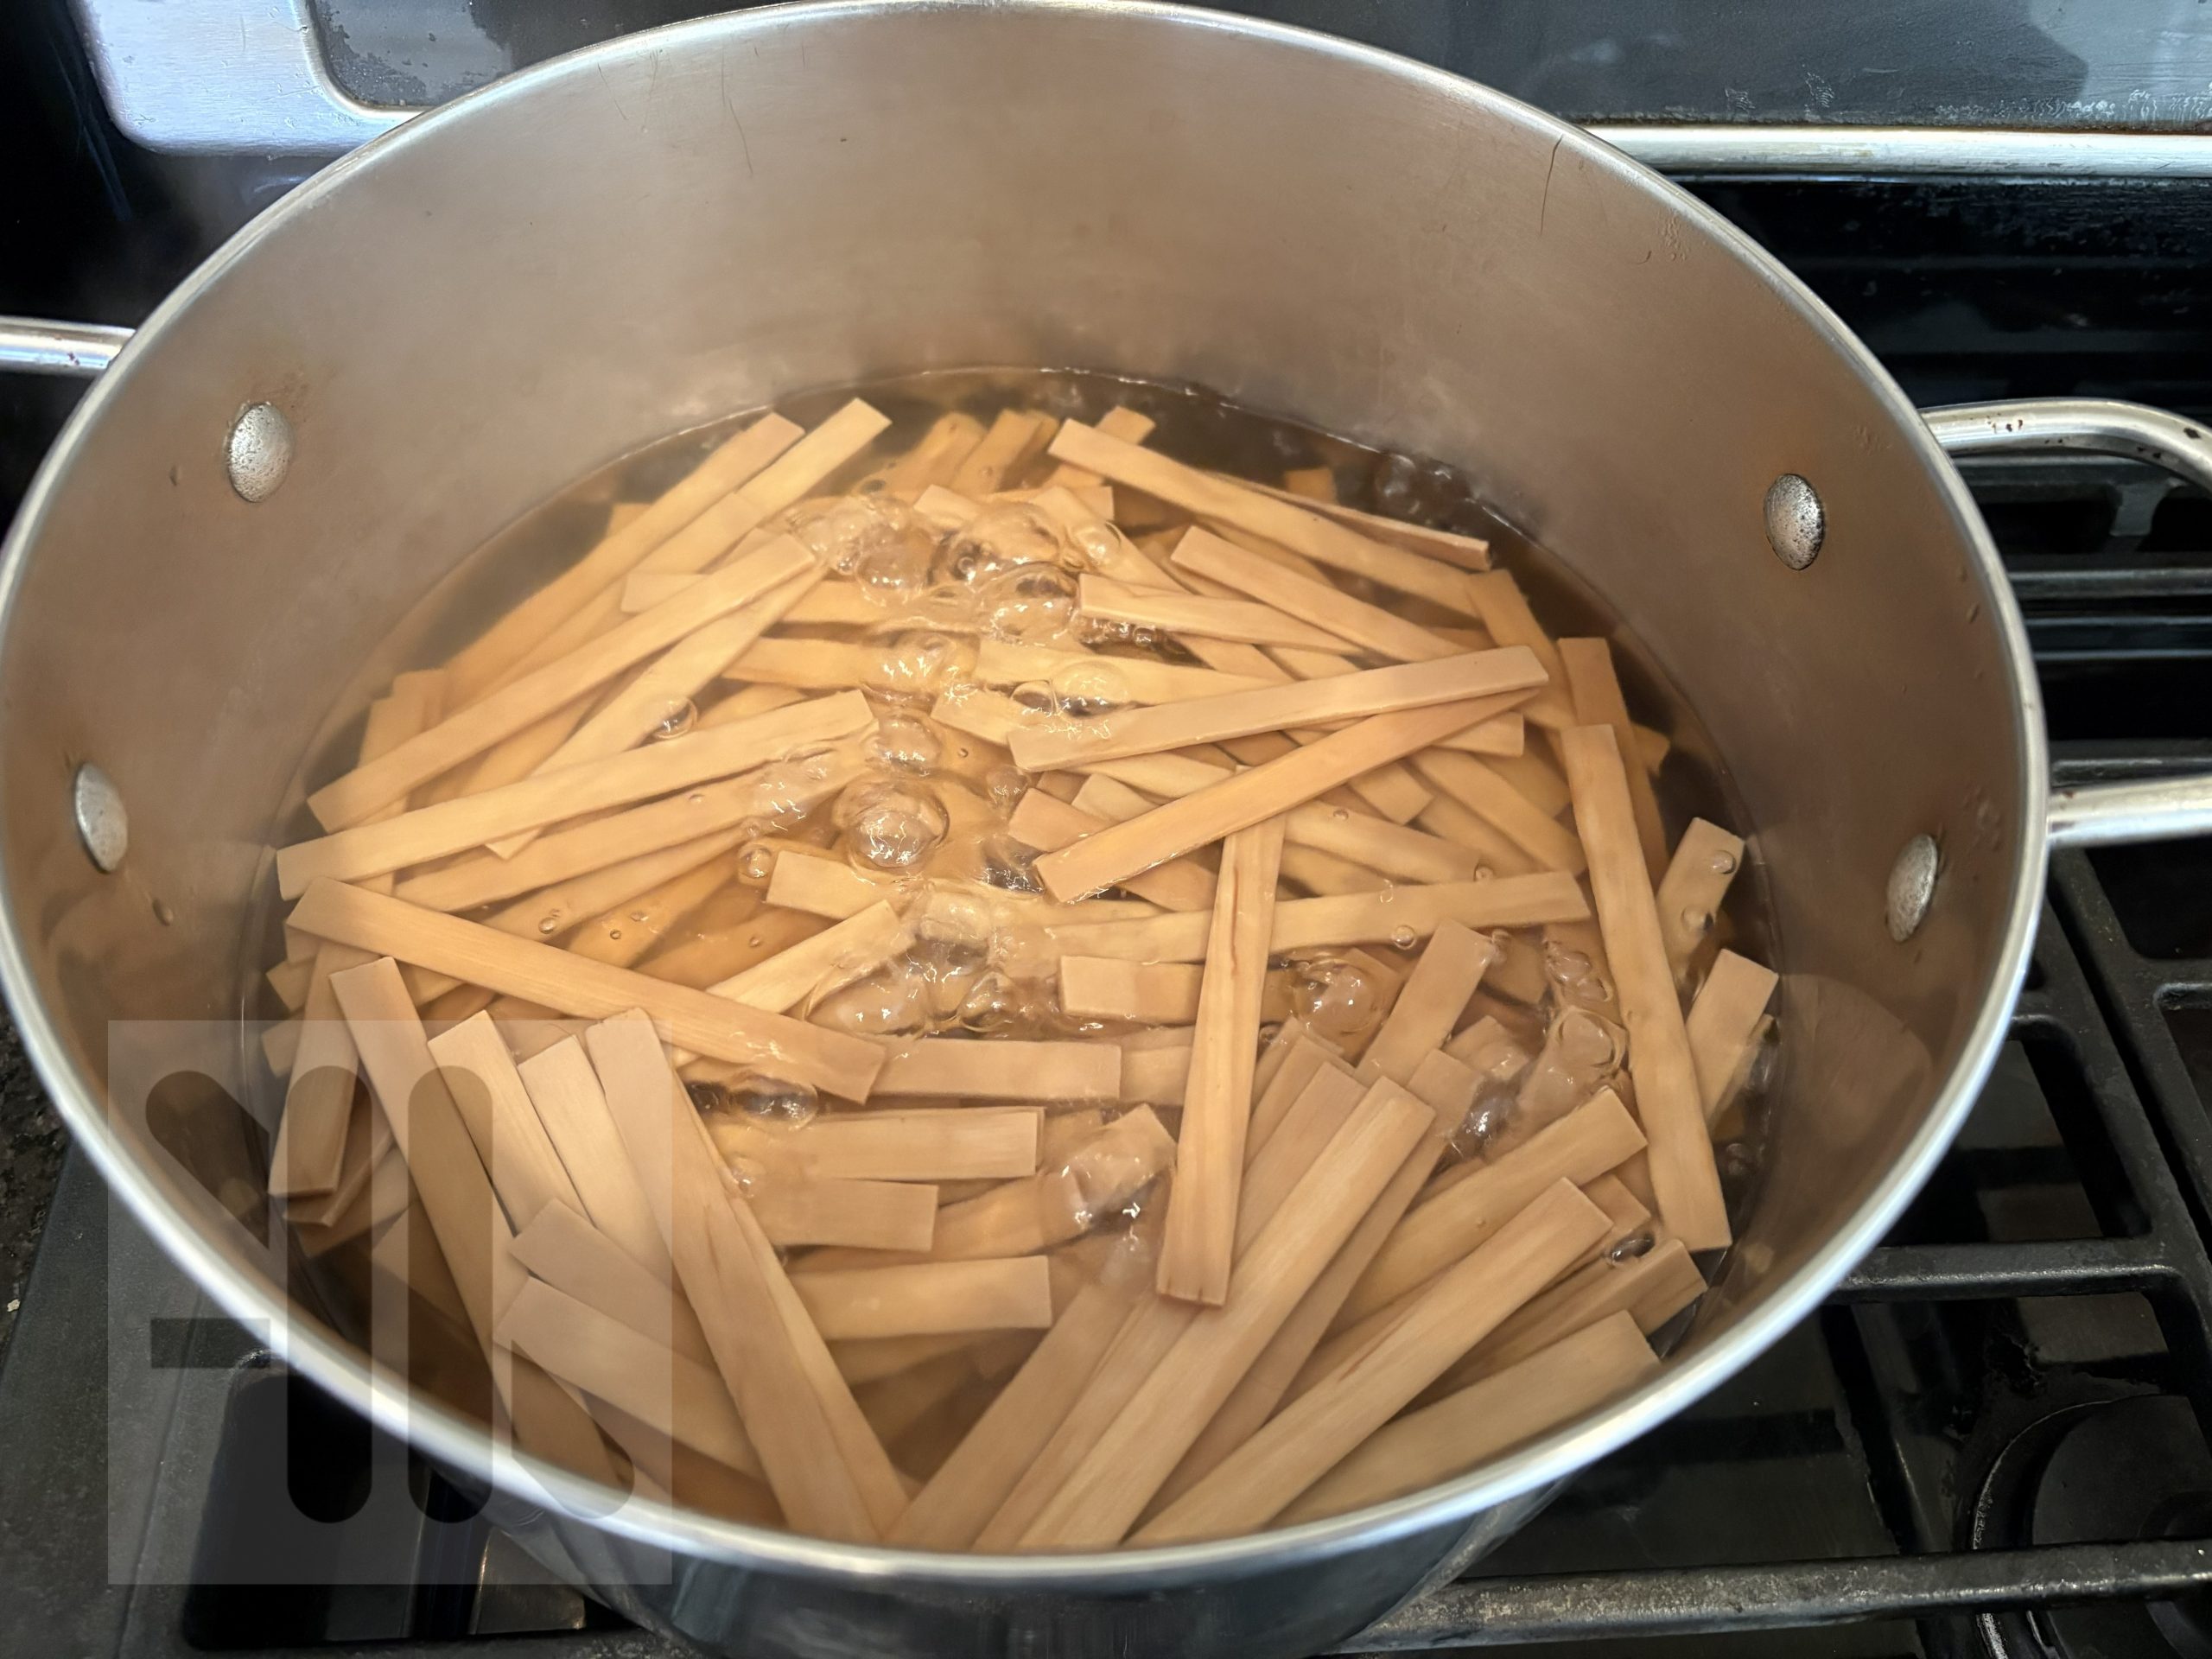
Heat makes wood pliable. Steam rises, the smell sets in, and a stick that wanted to be straight learns to become a curve. This is where the form begins.
Bend & Clamp
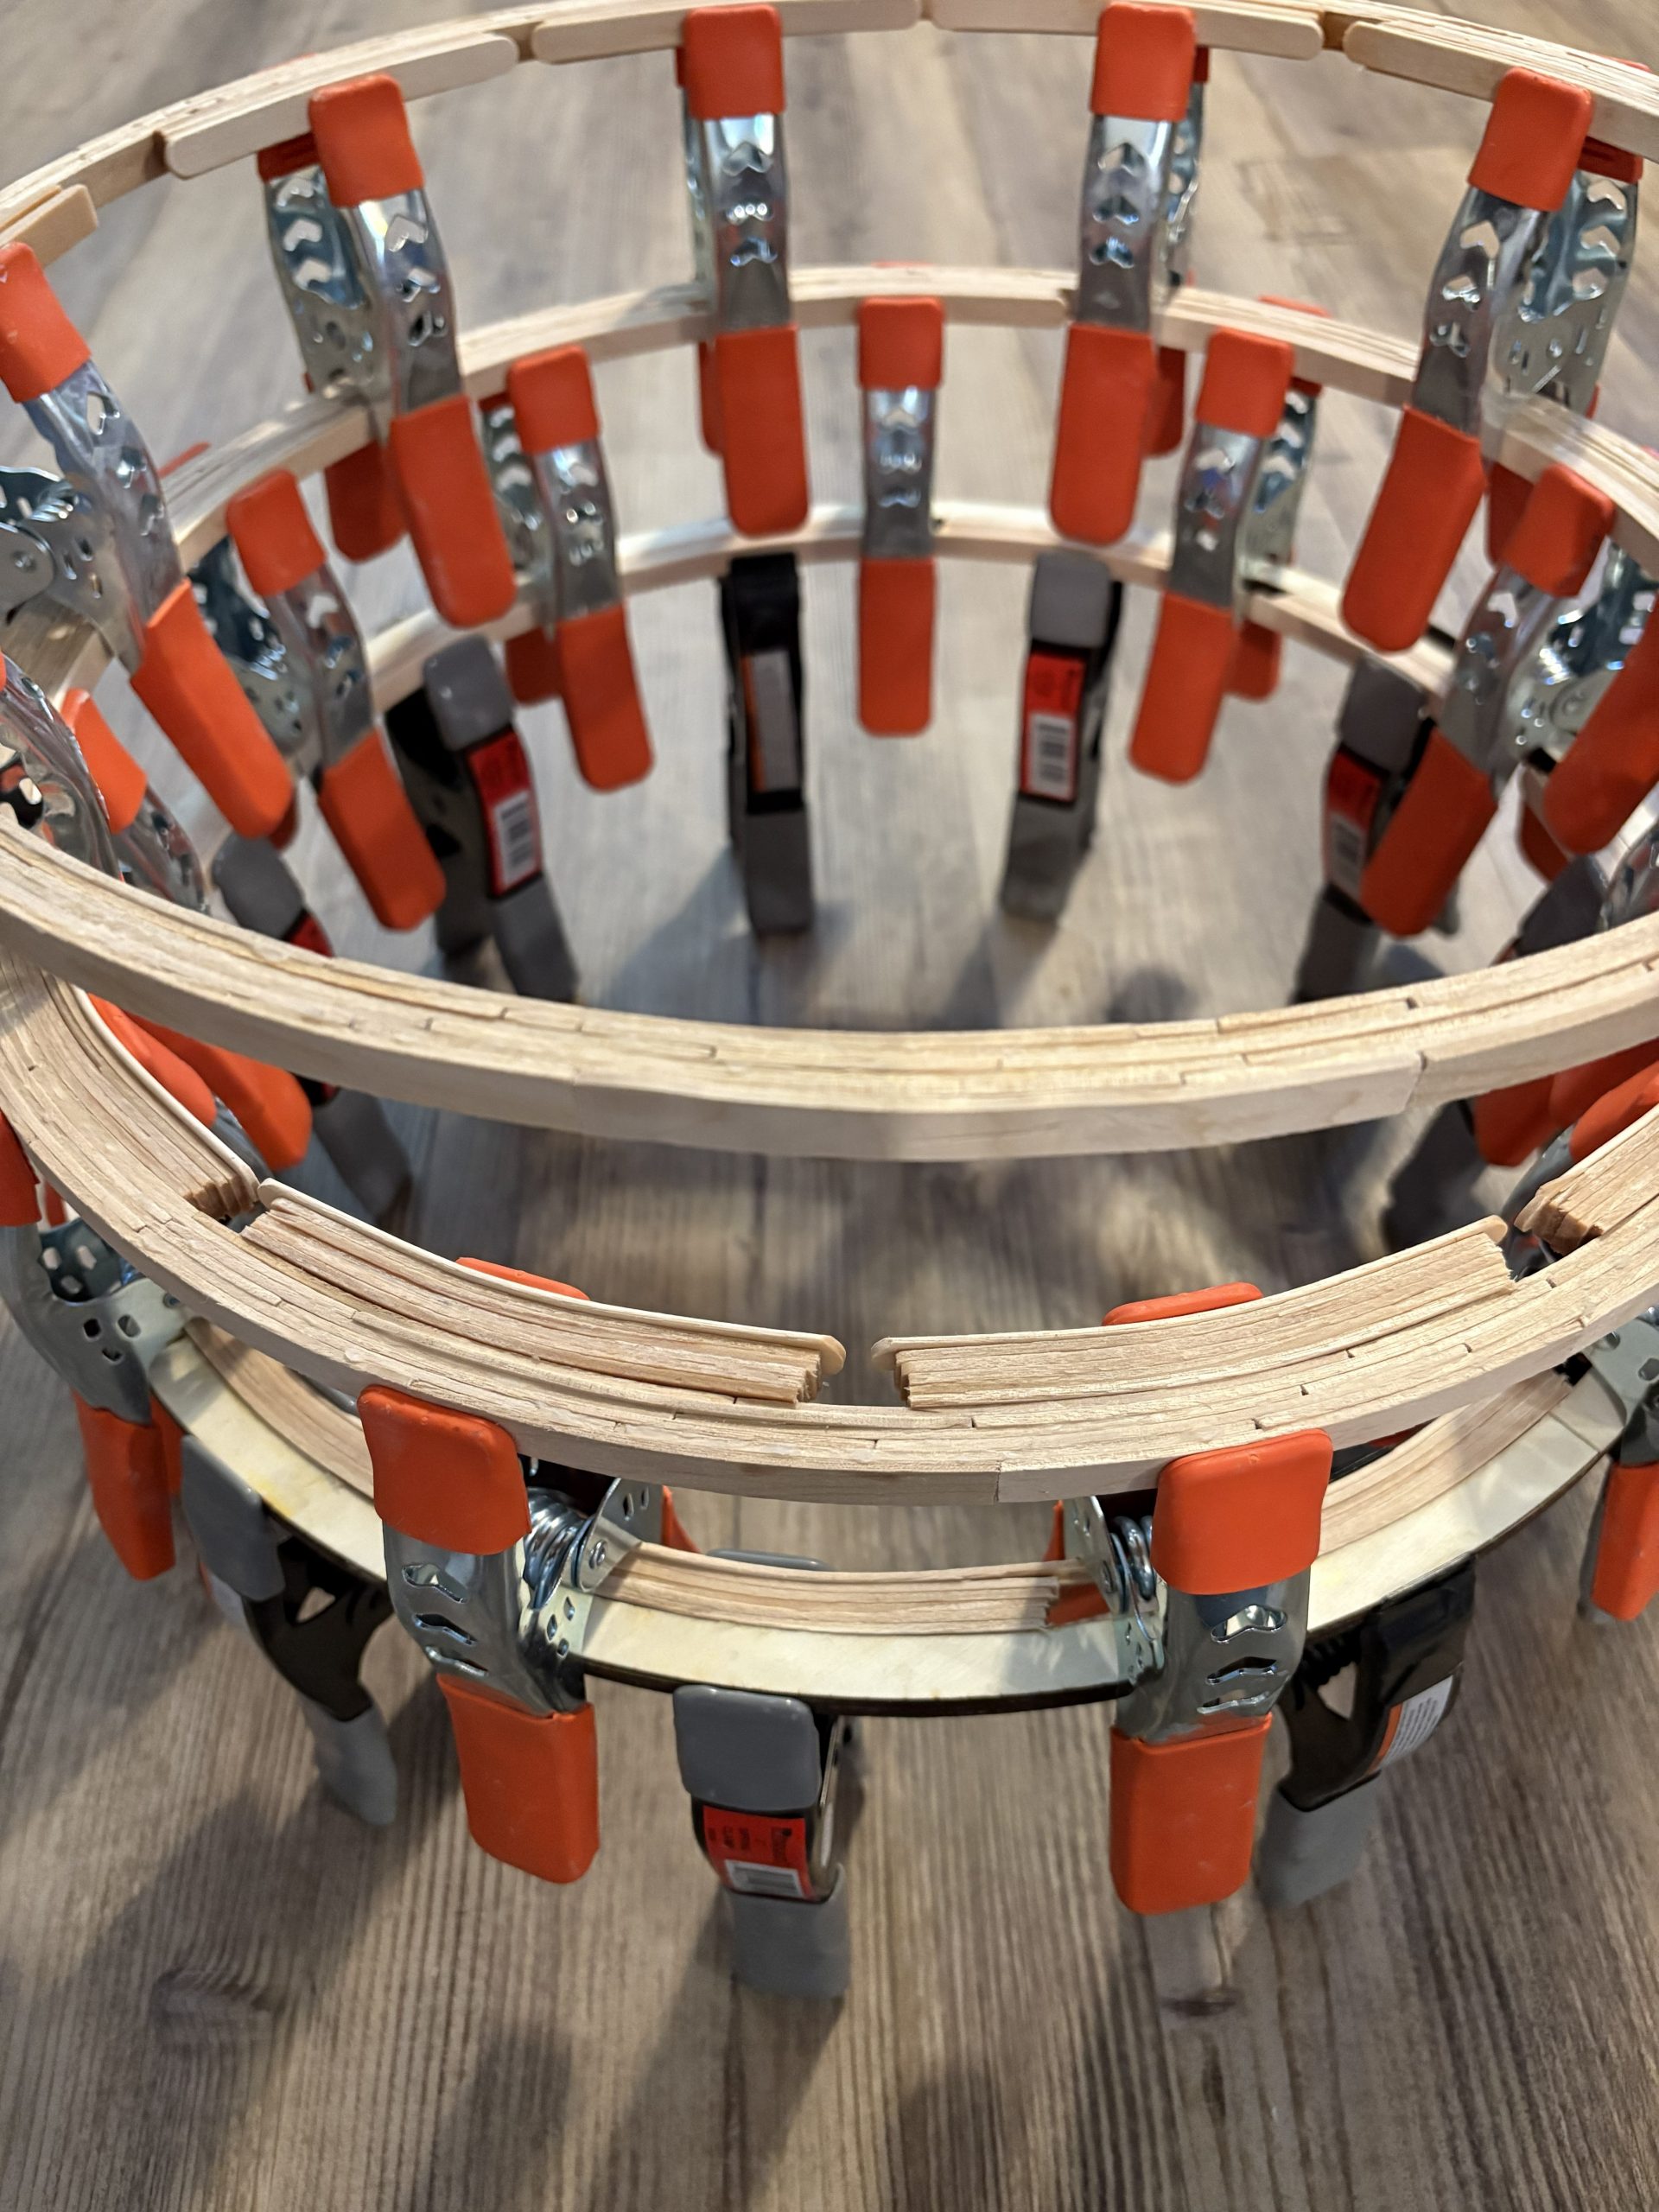
Curved pieces are held under clamps — binder clips, spring clamps, bar clamps, whatever the shape requires — while they cool and set. Holding is everything.
Build by Feel
I build much like a house or a puzzle, making individual parts before putting them together. I experiment with joints and angles and adjust things as I go. If a section doesn't work, I can start it over. Different glues have different jobs, depending on what needs to hold and how quickly.
Wait
A section may need days to dry or cure before I can work on it again. I actually like that waiting. It gives my mind time to work through the next problem and decide what to try.
Repeat
I genuinely enjoy the repetition. Doing the same simple thing hundreds of times gives me room to think. Then, after making all those parts, I still get a little amazed when they come together and fit.
What I reach for
Simple things, accumulated over a decade of learning what I actually needed.
Clamps
Binder clips, spring clamps, bar clamps, vice clamps — tiny to large. Holding curved pieces while glue sets is everything.
Adhesives
Wood glue for structure. Thin CA glue for instant bonds. Each has its place depending on what needs to hold and how fast.
Cutting Tools
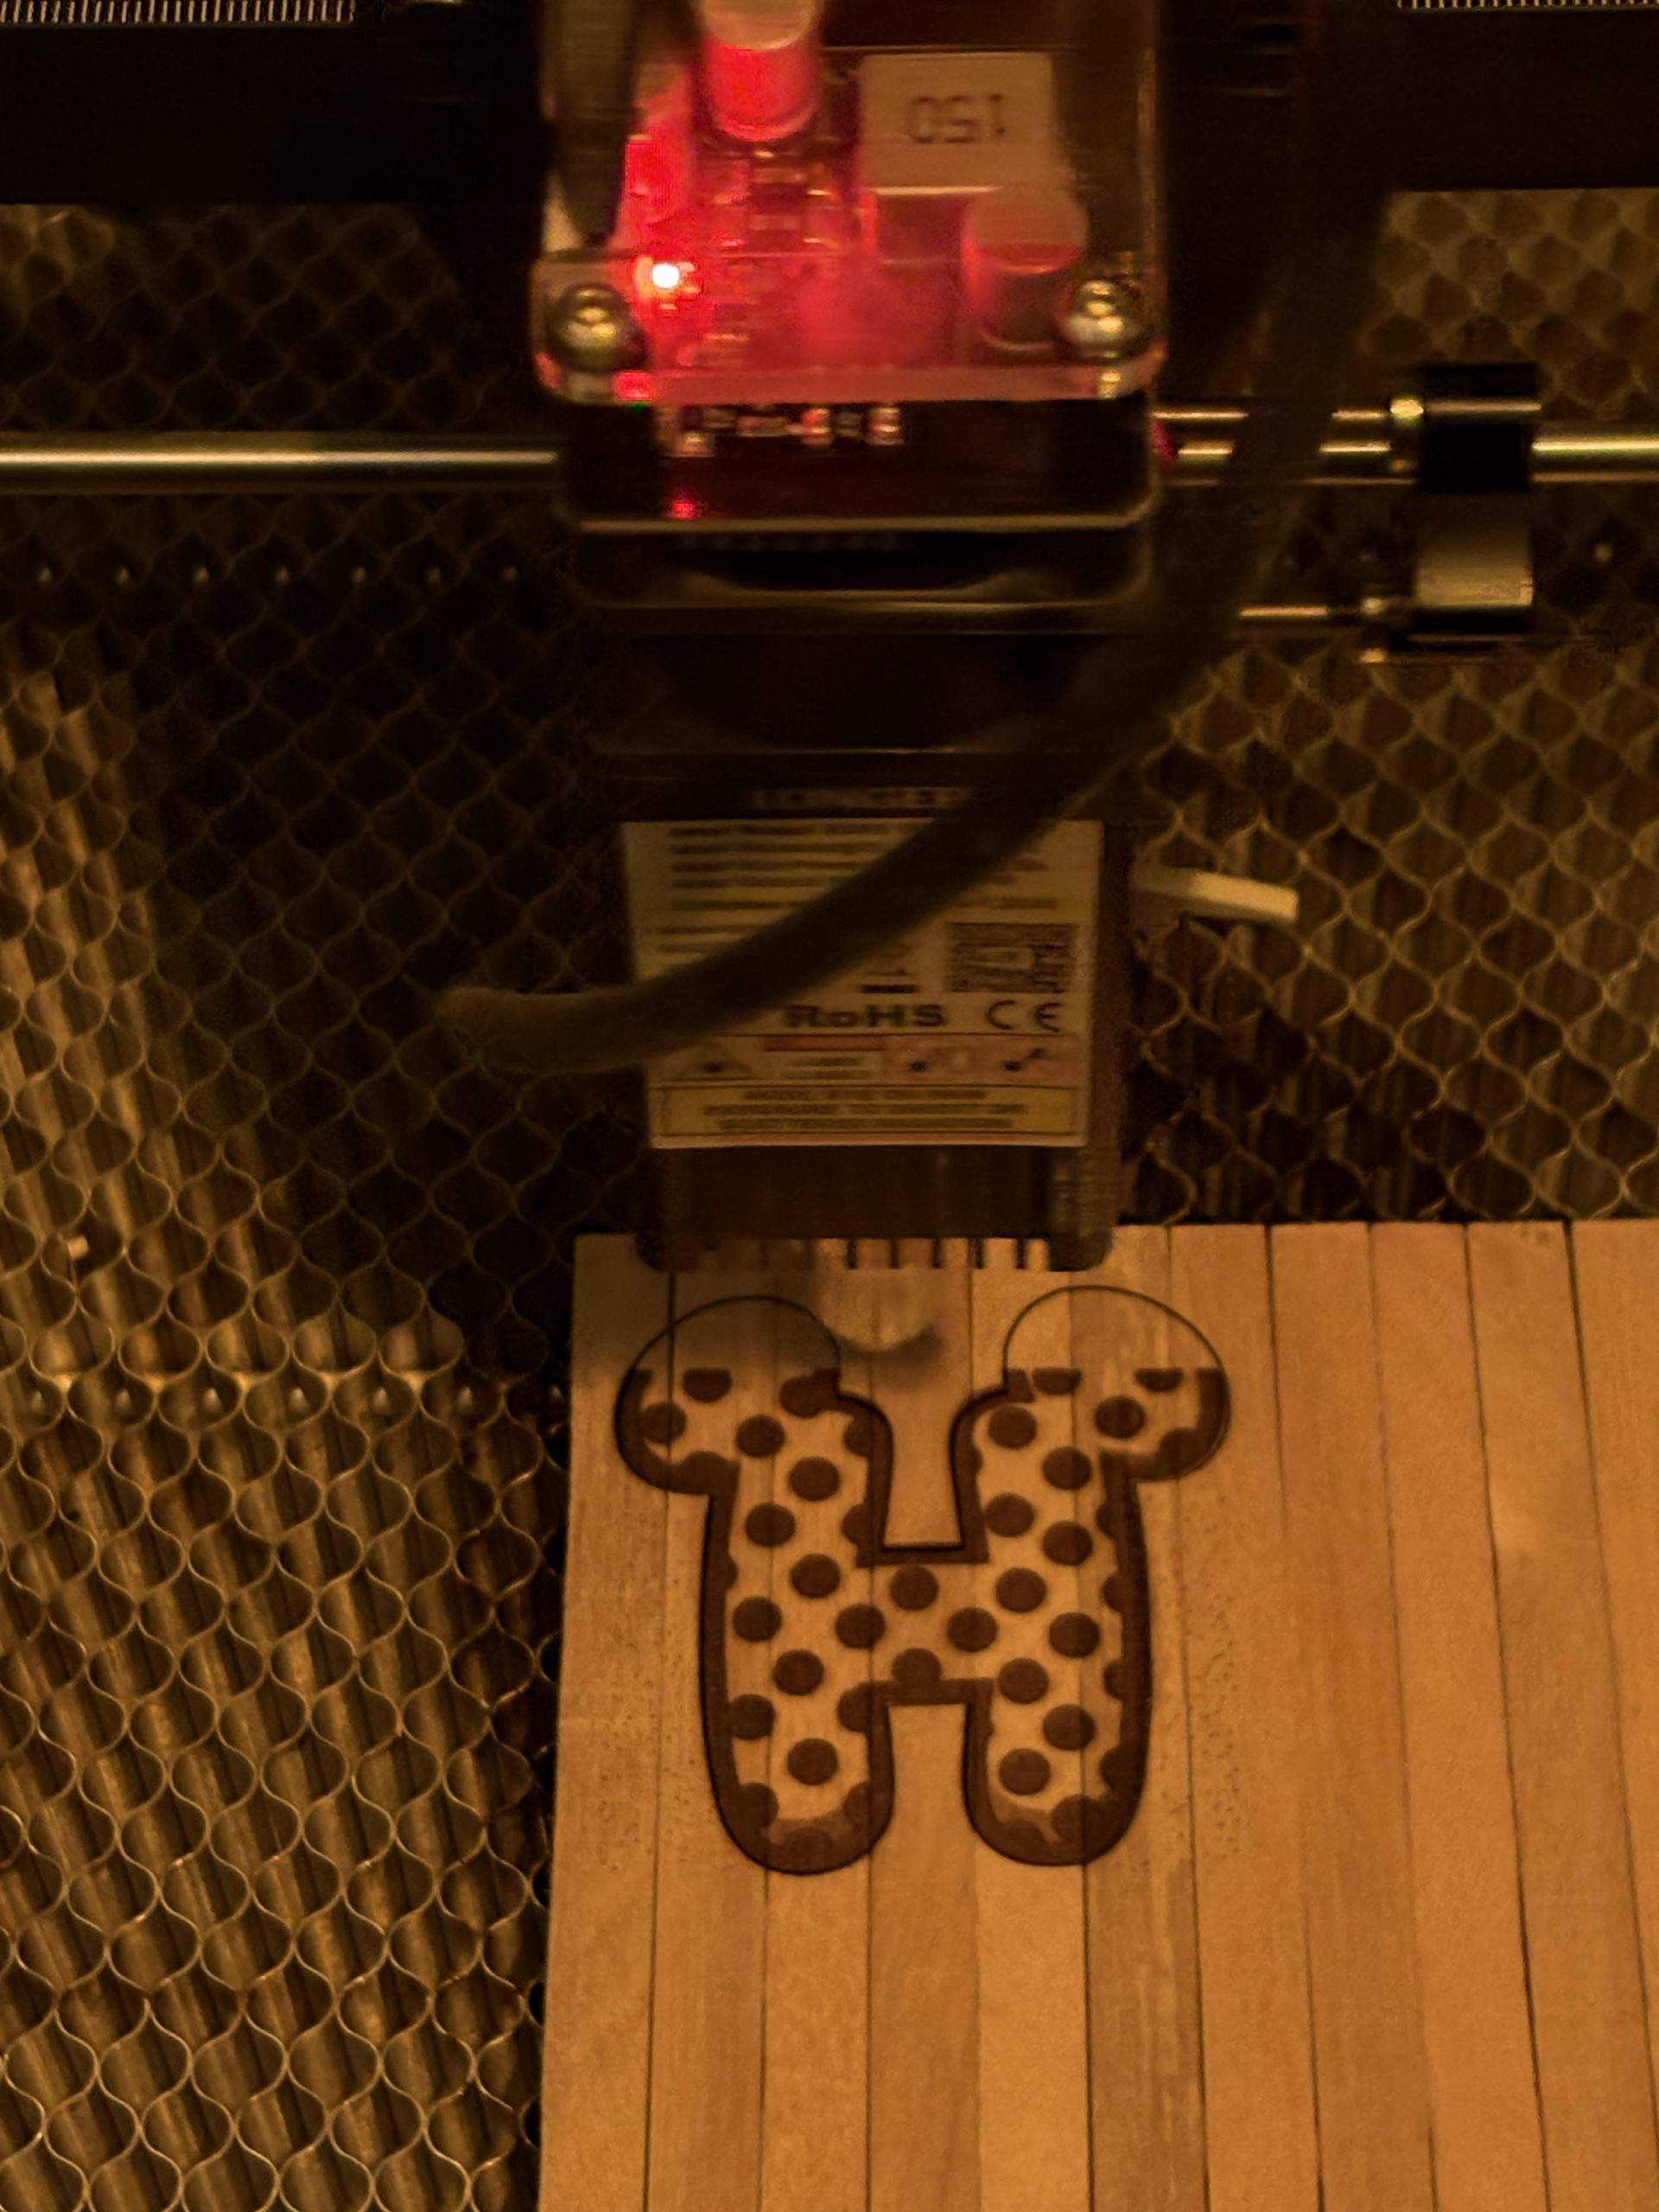
Exacto knives, a mini plane, mitre shears, and a laser cutter and engraver. Precision matters at this scale.
Everything Else
Transfer tape, resin tape, painter's tape, and a cutting board worn smooth from use — the things you don't think about until you need them constantly.
Boil. Bend. Clamp. Wait. Build.
Not because the material is precious — it isn't — but because of what patient hands can make it do.